Total Time: Approximately 1 month. September 2014.
Blade
I started this project with a billet of Alabamascus (I invented this portmanteau of Alabama-Damascus) purchased on eBay. Link to the seller. The billet measures roughly 2''x20''x0.15'' thick.
Blade
I started this project with a billet of Alabamascus (I invented this portmanteau of Alabama-Damascus) purchased on eBay. Link to the seller. The billet measures roughly 2''x20''x0.15'' thick.
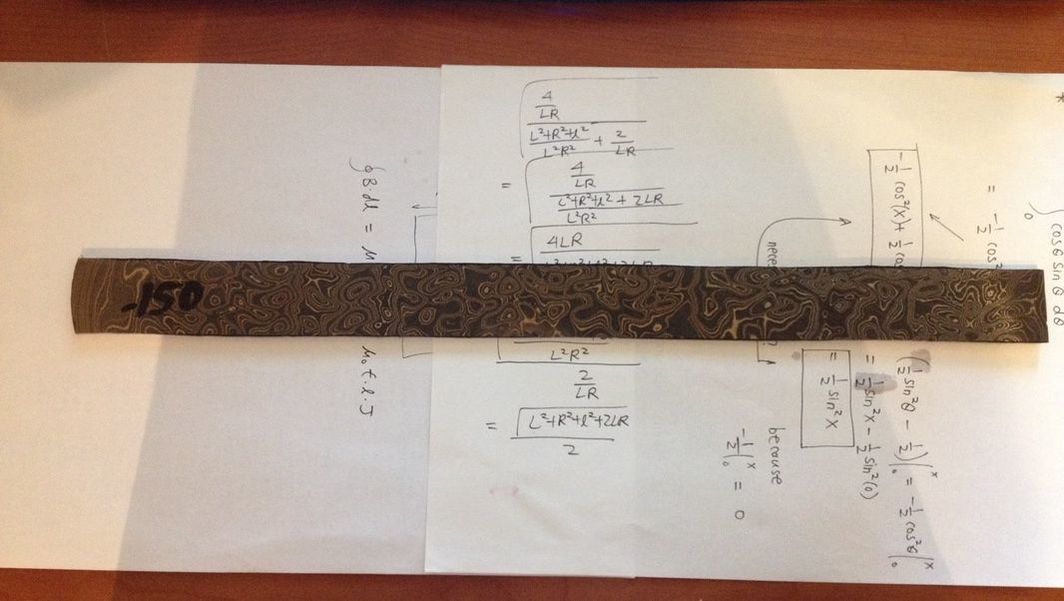
The composition of the Alabama damascus is 3 layers of 52100 tool steel, 4 layers of 5160 spring steel, 3 layers of 203E, and 3 layers of 15N20 nickel alloy steel, all folded 5 times totalling 416 layers. My particular billet had a random damascus pattern.
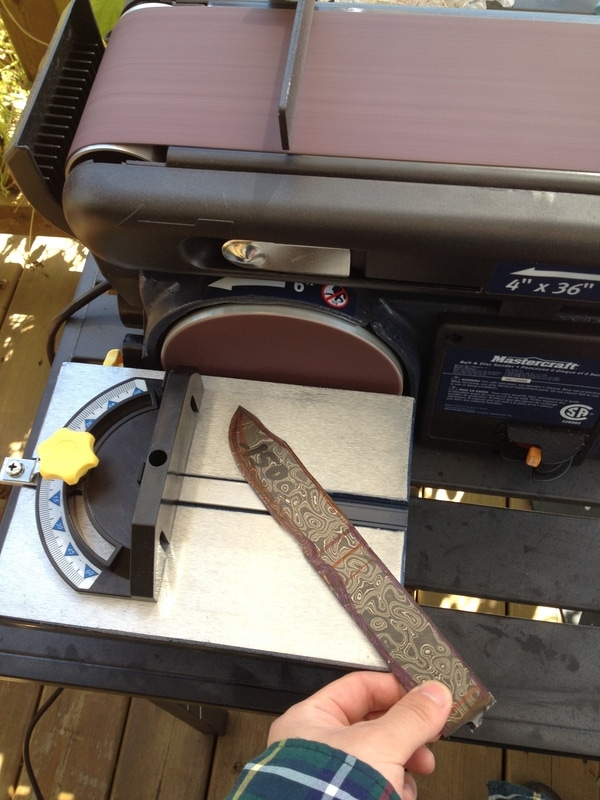
A rough sketch of the knife was drawn on the billet, and it was cut to shape using belt sanders (you can use angle grinders).
The bevel was then created also using the belt sander, changing the grit gradually from 40 to 220. This part was the most difficult. Future improvements include drawing a central line on the blade edge so that the bevel can be more symmetrical.
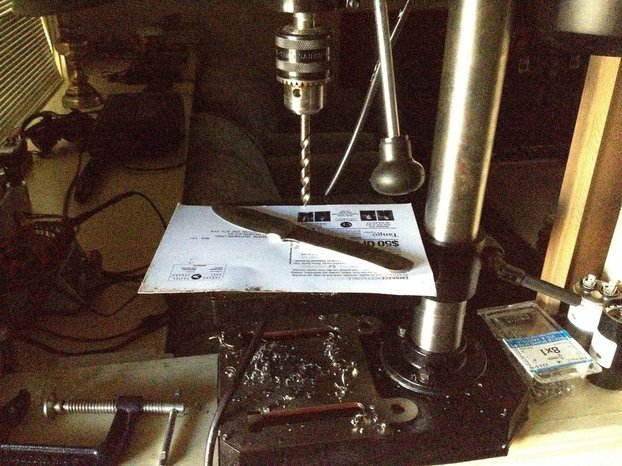
Also, remember to periodically dip the blade in a pool of cold water to prevent overheating the edges (more important later after heat treatment). After I was mostly satisfied with the shape and bevel, I drilled the necessary holes for the handle pins.
Applying a hamon, or differential heat treatment, so that the spine stays tough/soft, whereas the edge hardens
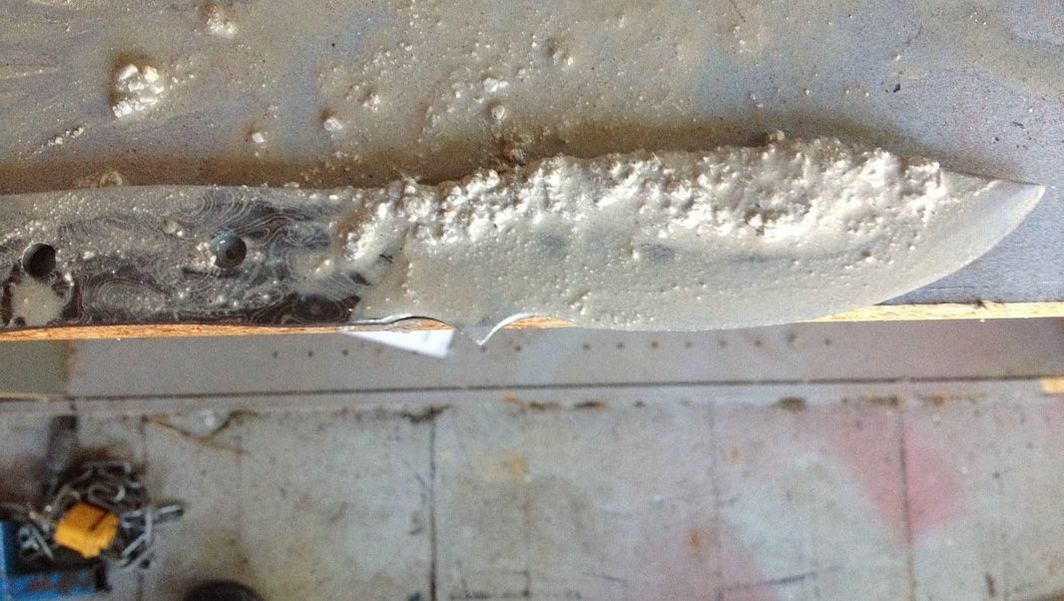
I used my homemade charcoal forge to heat treat the blade. Around 5 minutes in the fire produces a cherry red blade. It's important to not leave the blade in the fire too long as I accidentally burned (melted really) another blade and wasted many hours. Take out the blade immediately when it becomes red (you can check with a magnet, it will be non-ferromagnetic).

Dip the blade in a bucket of peanut oil (or any fast oils like canola oil) to quench the blade. Leave it in there until it's the same temperature as the oil.
Then move it to an oven (baking oven) and temper it at 350F to 450F. The lower the temperature the harder and more brittle the blade, the higher the temper temperature the tougher but softer the blade. I believe I tempered my blade at 375F. Generally for a smaller blade you want a harder temper, and for longer blades a softer temper.
You may choose to temper several times, but I didn't.
After temper, sand the blade down and sharpen it using sandpaper up to 400 grit. Then you may wish to sharpen it further using the belt sander, but be sure to dip it in water often as you do so as not to lose the heat treat.
Handle
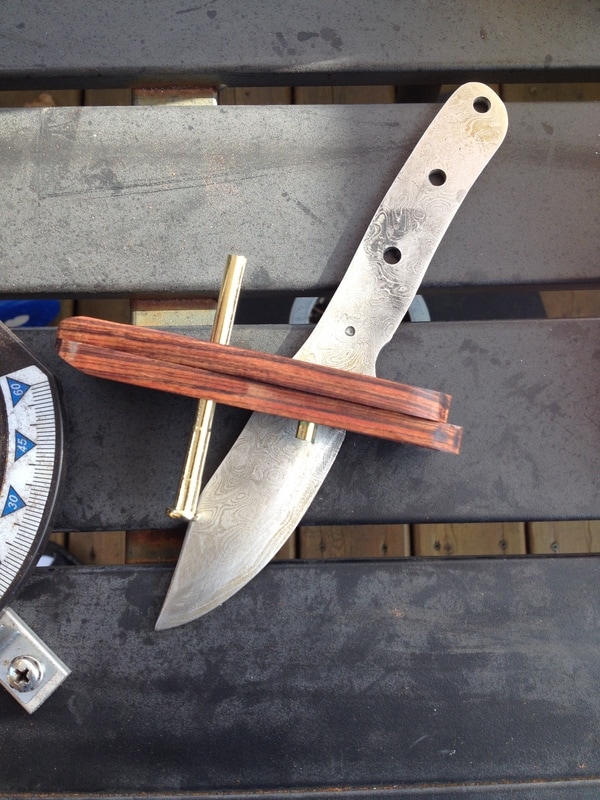
I purchased a pair of Arizona desert ironwood knife scales approximately 3/8'' thick and 1-3/4''x5''. I put the blade up to it and drew the general shape of the handle, then I removed the excess via belt sander and angle grinder. (The wood makes a huge mess of the belt sander, and is has quite a foul odour). I also smoothed the profiles and tried to make them fairly symmetrical, via the belt sander.
I drilled a couple of holes on the wooden handle as well as the blade handle (this is a full tang blade), for the pins/rivets (which I used brass door hinges).
Then I glued the handle scales to the handle using 5 minute epoxy, and clamped them overnight.
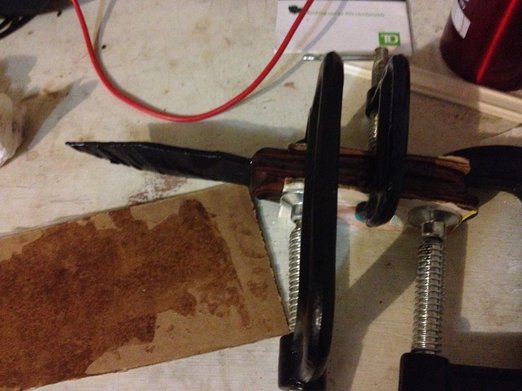
Remember to tape the blade area to avoid damaging it.
Next I polished the wood up to 2000 grit sand paper, and applied an oil based varnish and then sealant. Then I drilled a couple more holes just on the wood, in order to inlay some gemstones.
The gemstones I used were turquoise and moonstones cabochons ranging from 5mm to 10mm in diameter, and they were epoxied into the holes.
Once the handle pieces are fully cured to the blade, I went back to the belt sander and sanded the handle assembly down further. This is to ensure that the wooden handle and the steel tang share the same smooth contour. The fore and aft section of the wooden handle is sanded down even further to give a lateral curve for aesthetic appeal and handling comfort.
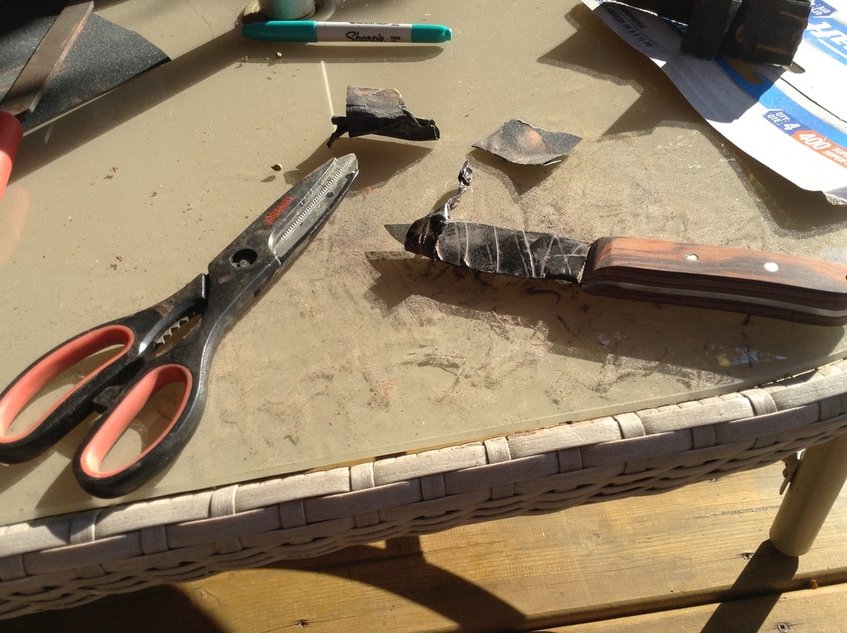
After this is all done, remove the tape covering the blade, and sharpen with a water stone once more. The wood should be polished with the varnish again at this step.
Etching
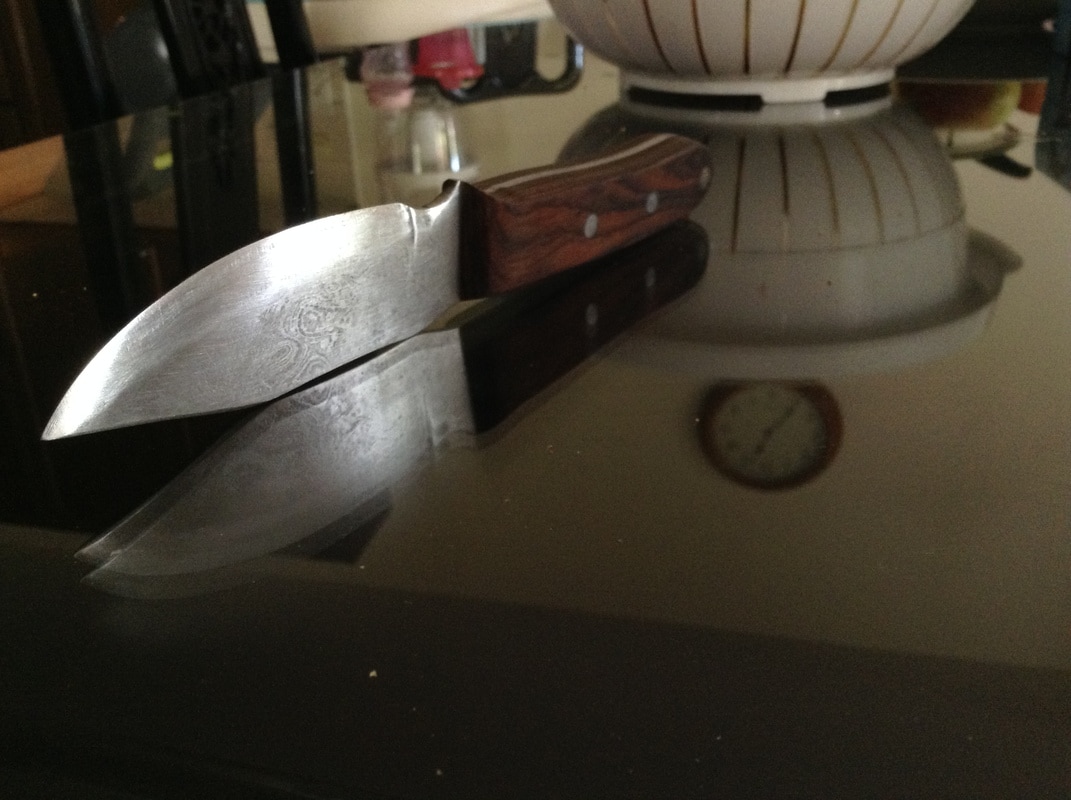
Notice that after all the grinding, sanding, heating, quenching, more sanding, and sharpening, the Damascus pattern has disappeared! This is natural, because as mentioned before, the different steels are arranged in layers, therefore by grinding or sanding, the surface, one would expose an uniform layer with only one steel, thus there is no visible pattern. To restore the Damascus pattern, one must apply an etchant, in which vulnerable types of steel is etched away while the other more etch resistant steel layers remains stainless. (The Nickel containing steel alloys are the stainless ones here while high carbon alloys are etched easily).
The most common etchant is ferric chloride, which can be made easily by putting some iron (such as iron nails) into a solution of hydrochloric acid. The iron and HCl will react to produce hydrogen gas and ferrous chloride, the latter of which will eventually oxidize to ferric chloride. You may speed up the first reaction by increase temperature. While the second reaction (oxidation) can be sped up by adding some oxidizing agents such as hydrogen peroxide, or just keep stirring it (oxygen in the air can dissolve easier).
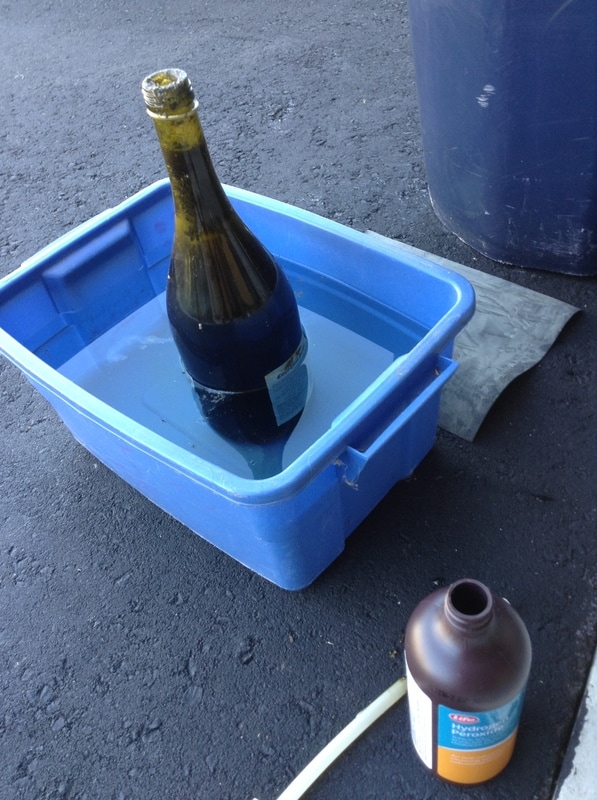
After a day or two the reaction should be complete, and all you have to do is dip the blade into the greenish solution for few seconds to a minute, depending on how deep of an etch you want to achieve.
Sheath
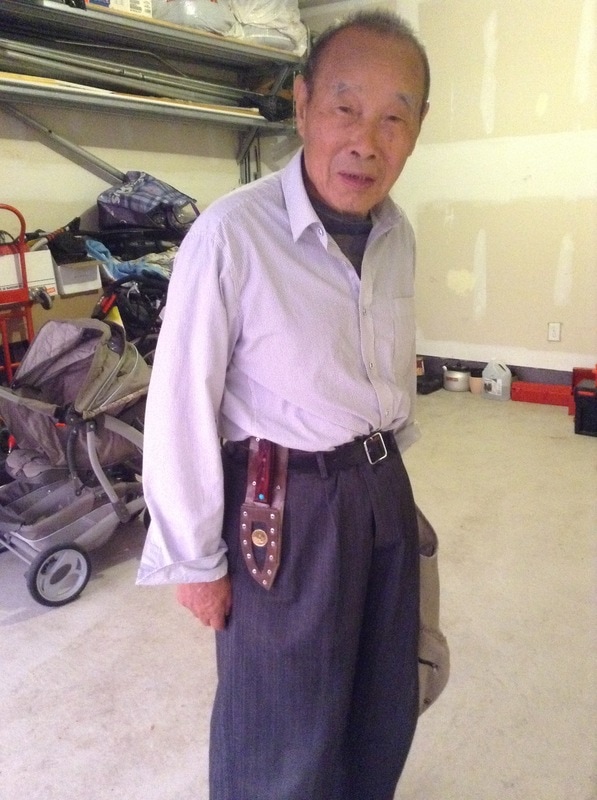
I bought two types of vegetable tanned cow leather on eBay, one type is thick for structure, and one type is thin for style. I cut them to the shape of the sheath that I designed, and riveted the front, center, and back pieces together to form the sheath. I then spray painted the sheath, let it dry overnight, and applied leather polishing and varnish compound using a brush to seal the leather.
This leather sheath has two back layers of thick leather providing structural stability and features a belt clip, one center layer that conforms to the contour of the blade, a thick front layer that holds in the blade, one decoration layer that holds down an inlaid Canadian Toonie, and one external layer through which rivets are set.
Six layers in total!

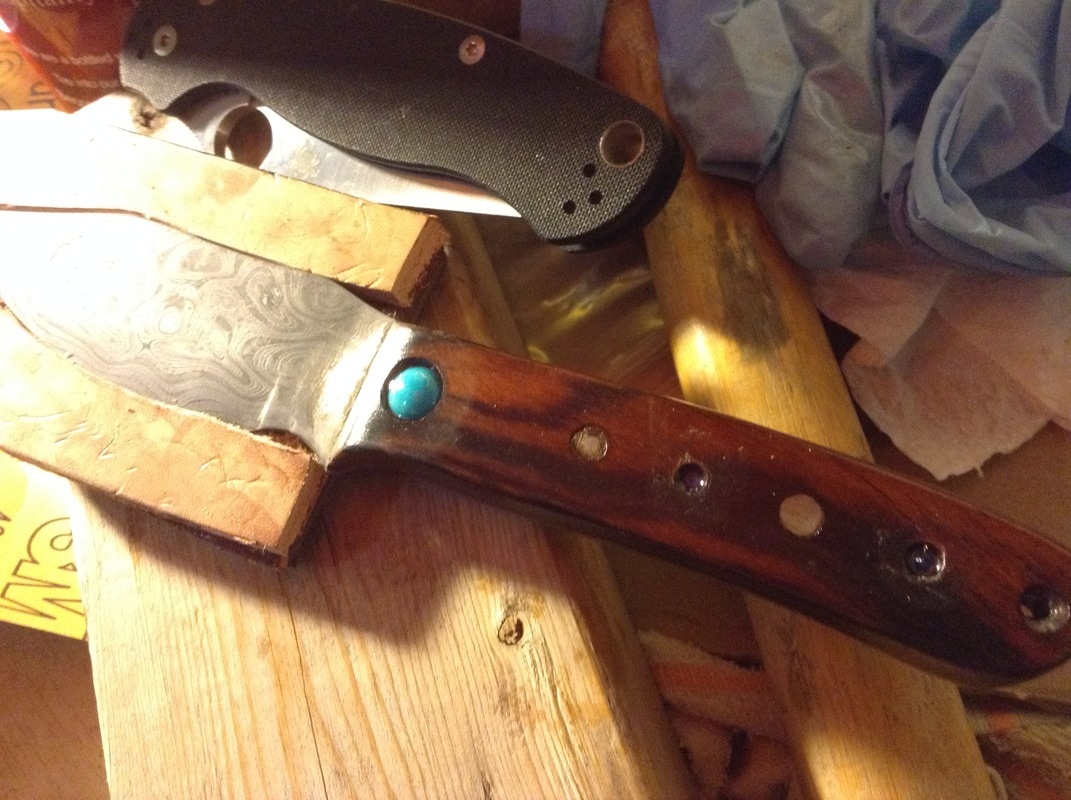
Wooden handle with inlaid gemstone.
The blade was a gift for my grandfather. The gemstone shown is his birthstone, turquoise.
